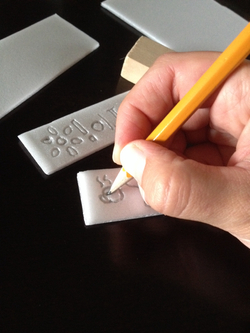
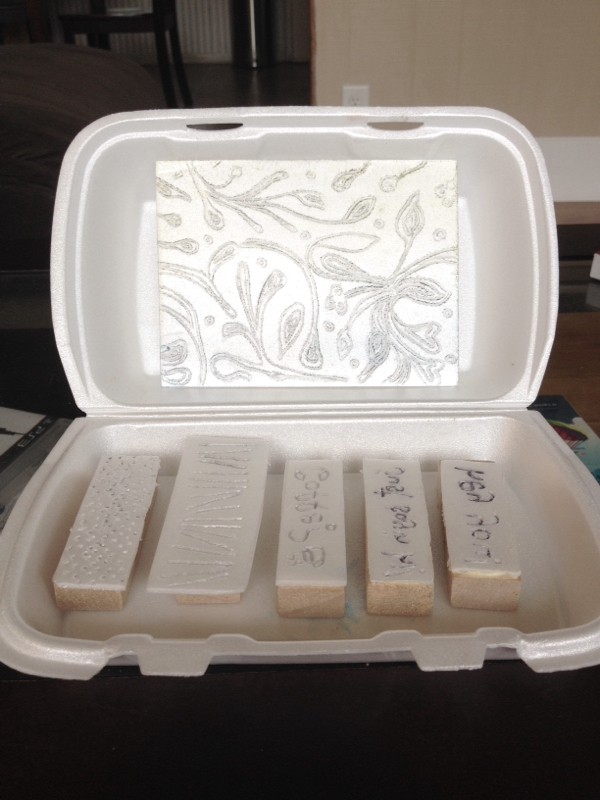
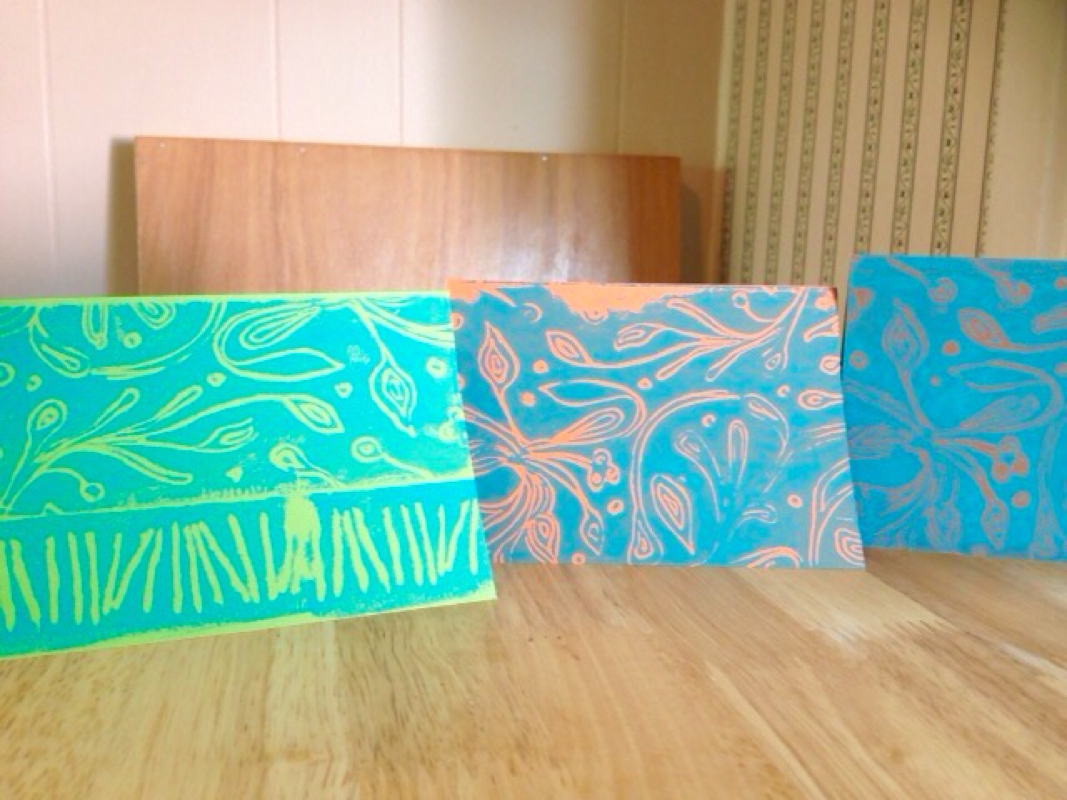
 Drawing in my designs on the styrene Drawing in my designs on the styrene Happy Saturday everyone! Doesn't it feel like fall? The leaves are turning golden again! I love it so much that I made pumpkin pancakes for dinner last night and breakfast this morning. Yums. Last night I made some styrene stamps and had fun with it AND made a lot of bad prints. To be honest, styrene printing is best used in a printmaking style with ink and brayer rather than a stamp pad, but it is still fun and easy to do. I also can't help but feel a bit better about myself if I can save some non-biodegradable matter from ending up at the landfill, so you're being eco-friendly if you do this craft! Yay! You will need these items: 1. Flat styrofoam containers, washed and dried. 2. A very dull pencil 3. Scissors and a utility knife will be handy 4. Optional: Wood glue and blocks like Jenga blocks 5. Ink and brayer or stamp pad 6. Paper or cards to print on Here are the steps: 1. Cut styrofoam takeout containers so you have only flat pieces 2. Cut those to any shape and size you'd like. I used another Jenga block size for one of my stamps. 3. Use a very dull pencil (non mechanical kind) or a ball point pen to draw in/press in your design. If you're doing letters they must be in mirror image. (Side note -- check your spelling if writing in mirror image. I forgot coffee has two e's so I made a stamp that says "Coffe?". Egh. It's been a long week.) 4. If you want, glue the back onto your Jenga block or another sturdier object with wood glue. This is very handy if you are using your styrene with a stamp pad. 5. When your stamp is ready, do some tests and print away! One thing I like about printing with styrene is that it is imperfect, which gives each print an antique look every time. If you are a perfectionist, this is not for you! I also like that simple designs like lines (see bottom of the green card) or dots, or shapes can make interesting textures to print. I have more printing to do I think! Have a great Saturday.
-- Amy
2 Comments
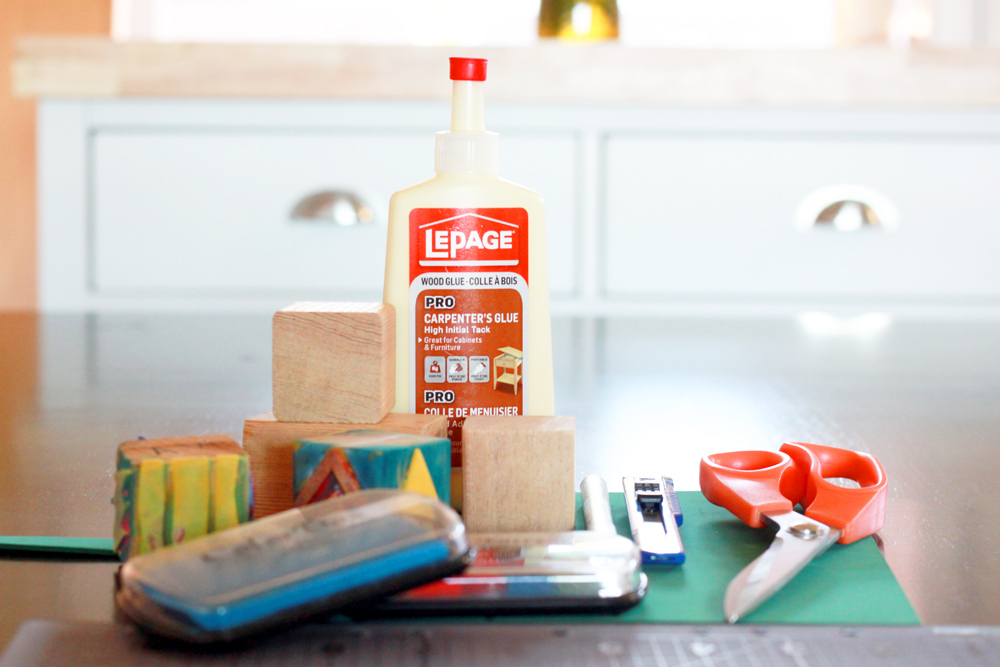
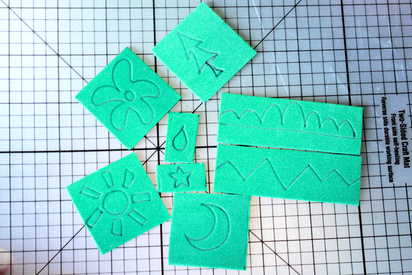
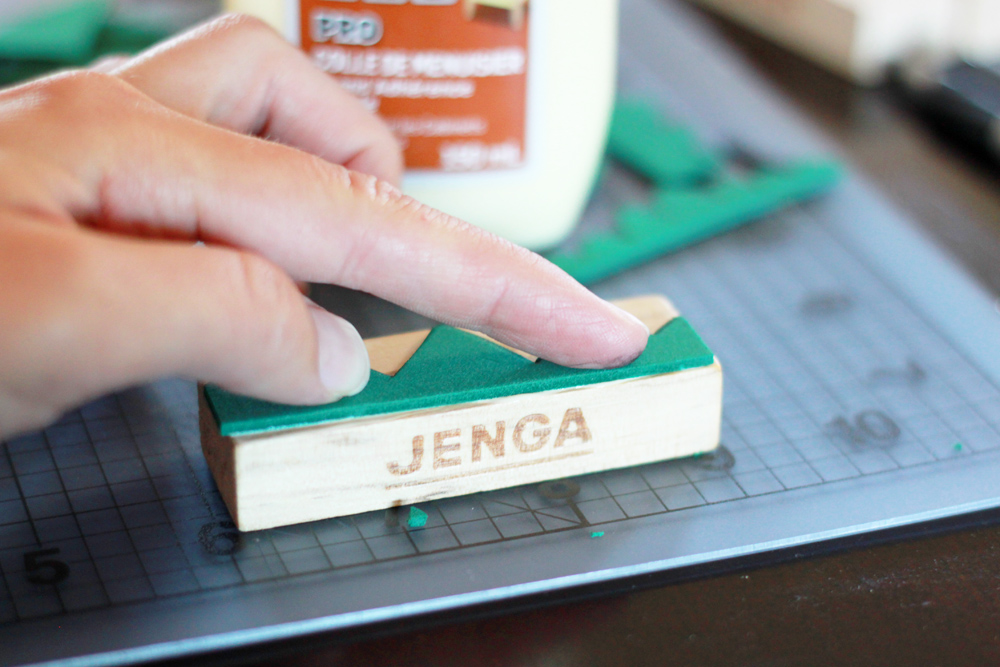
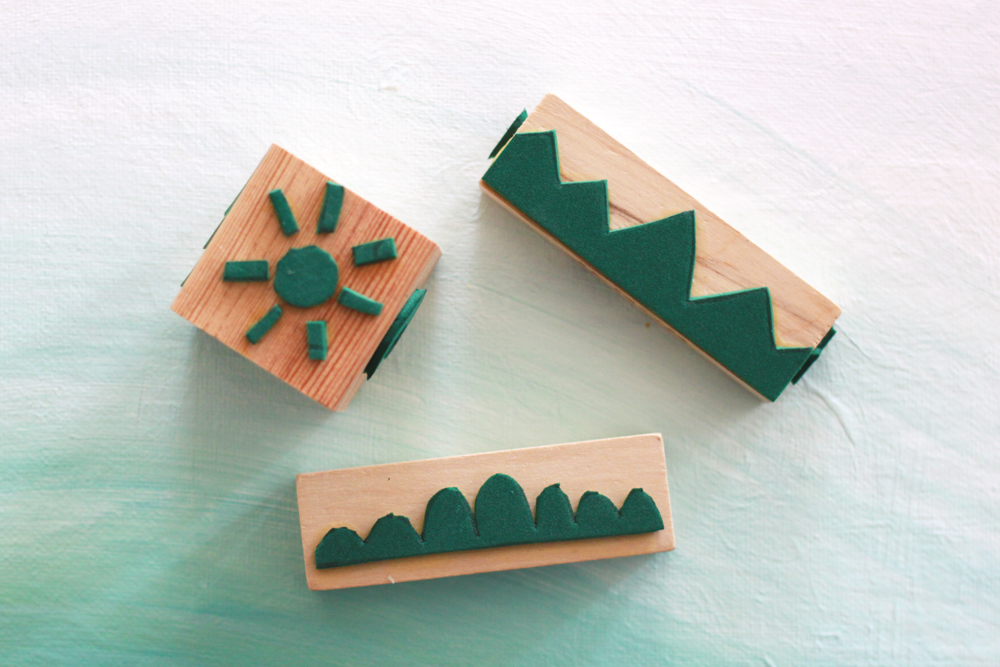
Happy Long Weekend Stamp Making! Happy long weekend!!! It's officially my last three days "off" before school starts up again. I say "off" in quotations because obviously I'm going to go to school every day this weekend so that I am extra prepared and don't have nightmarish unprepared-for-school dreams. Despite the inevitable nightmares, I am so excited for school to start. However, I am off topic. Today I'm writing about making easy, fun, and cheap custom foam stamp blocks! I am going to tell you the steps in short version first and then you can read on or just look at the pictures to get a sense of what it's all about. It is much simpler than the carved stamps I posted about last weekend and requires fewer materials. Some things you'll need are pictured here:
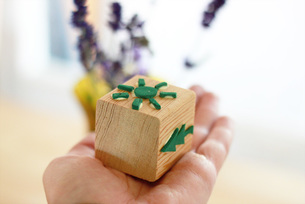
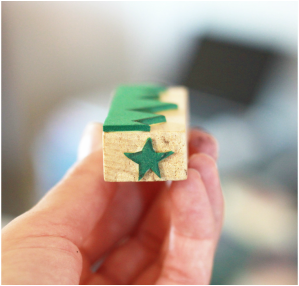
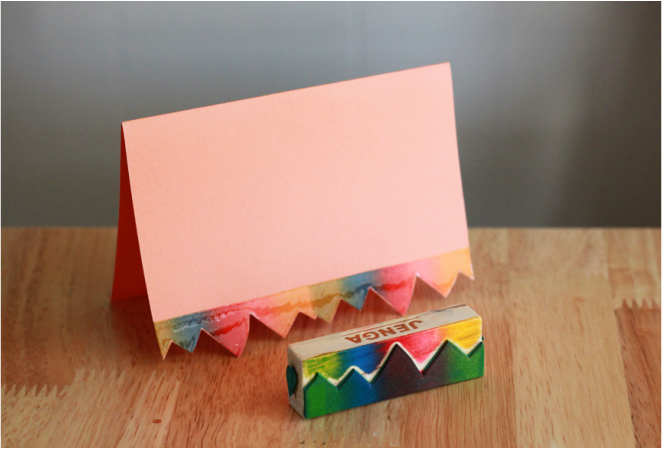
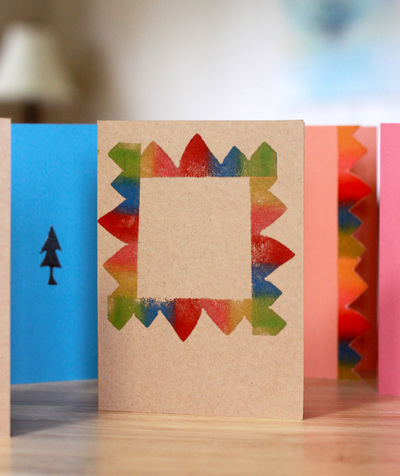
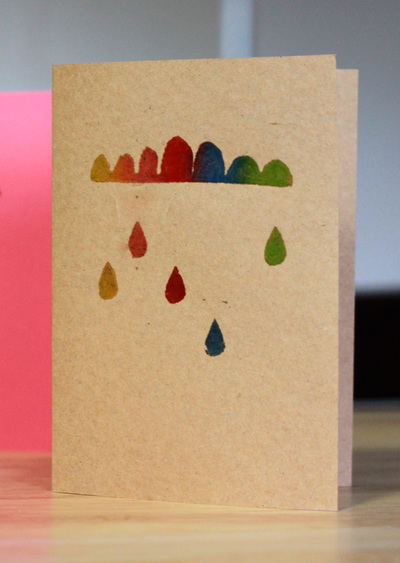
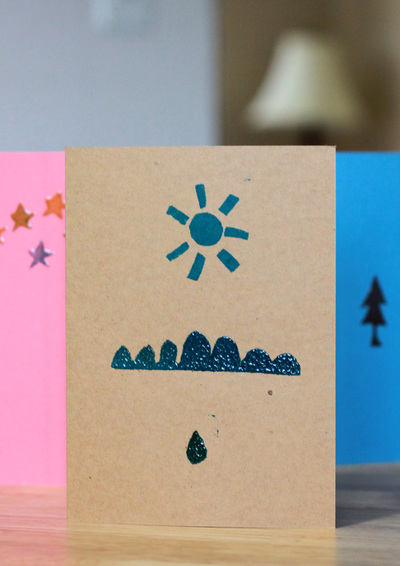
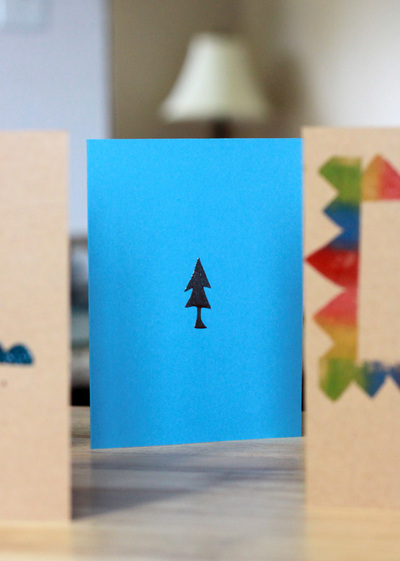
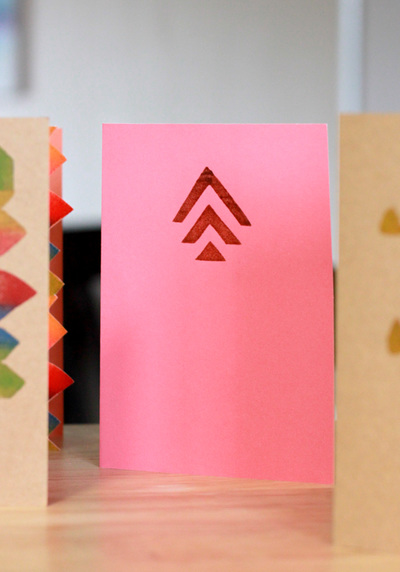
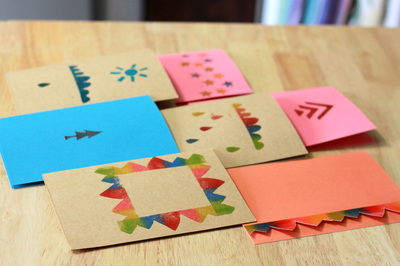
After I cut out the foam pieces with either the scissors or exacto knife, I spread a thin layer of wood glue on the back of the piece with my finger. I held it down in place for a few seconds and then let it dry on its own for awhile. I don't know how long it took to dry because I went to school for a few hours and they were all dry when I came back for lunch. It doesn't take very long, though! You'll know when the glue is dry if the foam doesn't slide around on the wood block. Rainbow stamp pads are essential because they are so fun and bright and awesome! I think that a rainbow stamp pad should be your next stamp pad purchase:) A bonus is that you can use each colour of the stamp pad individually if you have tiny stamps like the star and rain drop I made on the side of the mountainy Jenga block stamp. I have a hard time stamping without embossing everything, so, as you can see, my stamped edge is shiny because I used a clear embossing powder on it. I will definitely cover all the fun of embossing in a future blog post, if you're interested in learning how to do that. It's fun and obviously addictive like every craft I seem to do:) I thought I would do this post first because you barely have to buy anything for it, but you will need new supplies for embossing.. However, I'll tell you how you can do it without buying a heat gun to save a bit of cost! Here are some cards I stamped this morning:Thanks for reading, and happy crafting, happy weekend and happy September! <3 -- Amy P.S. ... I've actually used my foam stamp blocks in paintings before. Check out this arrow-y design used in two different ways on two different paintings:
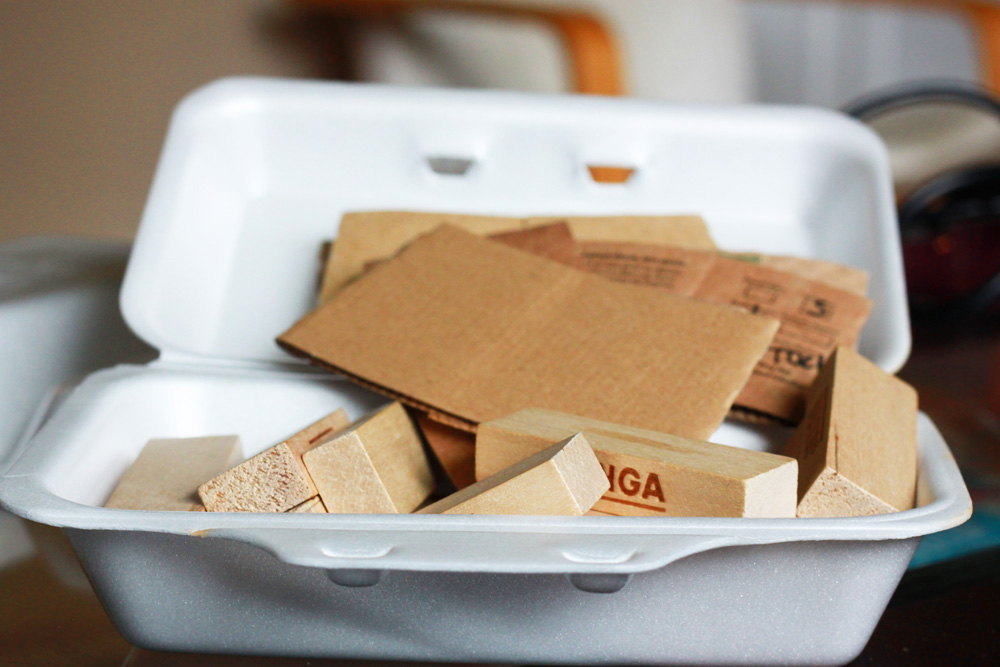
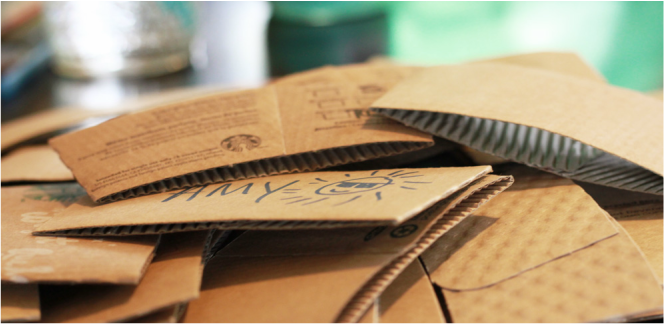
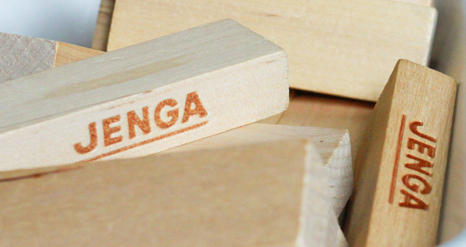
As I prepare for future posts, I realize that it may be a good idea to mention in advance what you will need for future projects. That way you can have some materials ready to go if you want to try anything out! I have been collecting things for various forms of stamping, so here are three items you can keep around if you have them. 1. Styrofoam takeout containers. I don't think you can recycle styrofoam anywhere, so the best we can do at least is reuse it, right? Containers with flat, smooth areas are good to keep. Just give them a wash with soap and water and let them dry for a future Stampin' Saturday post. 2. Cardboard coffee sleeves. Yes, I have a few too many of these. It may be a problem. I promise I do use a thermos to avoid using takeout cups at coffee shops, but I just don't exaaaactly always remember to bring it with me. I like to keep the cardboard sleeves instead of recycling them right away because they are useful for many craft projects. In fact, keep an eye out for a future post all about what you can do with these little coffee huggers! 3. Jenga blocks. You may have an old game sitting around missing a few pieces that your dog chewed up, or perhaps you spot one at a garage sale. Either way, don't throw it out! The little wooden blocks can come in very handy, and it will save you time in the future for a stamping project. Well, I hope your week has started off well. We had the most glorious double rainbow appear tonight after a massive downpour, so if you are in Terrace, I hope you got to see it!! The bottom rainbow went PAST the violet and indigo and turned into a reverse rainbow after that. Scientists...what IS that?? I was on a jog so it was very difficult to keep my head facing where I was going while staring at the beauteous sight to my left. It was practically neon, that's how bright it was. Sometimes rainbows like that make me think it means somehting even though its just light and water and science, but it made me think of my friend's grandma who is going through some tough times, so I'm sending all the positive vibes I got from that rainbow your way Mol!!! XOXOX
Anyway, I am gearing up for school to start next Tuesday so I am trying to get as much art done as possible before then. On to the next mess! Happy Tuesday! -- Amy 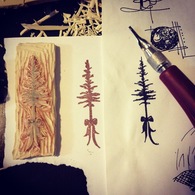 Carved stamp, test print, and original sketch. Carved stamp, test print, and original sketch. For my first DIY post I decided to write about stamping since it is so fun and versatile, AND I was just about to make a stamp for myself anyways. There are so many different ways to make stamps (who didn't make a carved potato stamp when they were a kid?) so I am going to feature different methods each week and various uses for stamps. The technique I am covering today is a more advanced version of stamp making as it really is a form of relief printmaking. Relief printing simply means that you cut away from what you don't want and only print the raised areas. But, if you bear with me the future posts will involve easier stamping techniques. (Side note: printmaking has a rich history worldwide. For some interesting history and information on other forms of printmaking check this out.) However, with only a few tools and materials you can make your own custom stamps that will last forever, unlike those potatoes! Here's what you need:
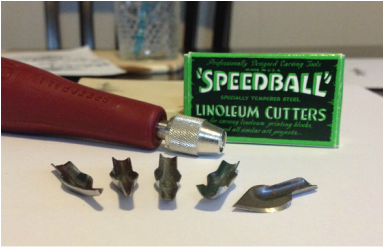
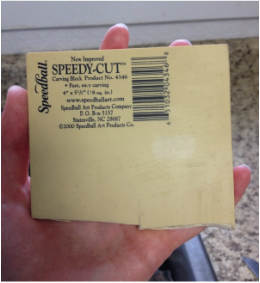
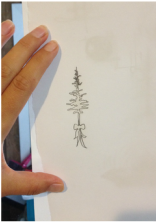
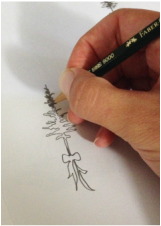
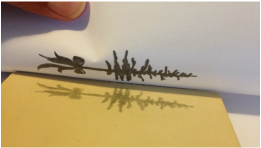
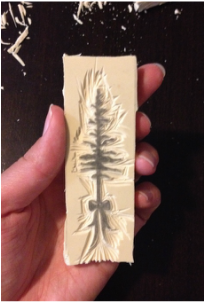
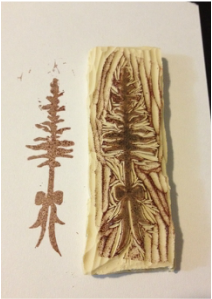
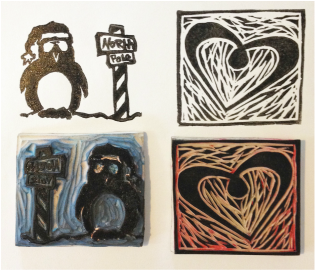
Speedball makes affordable linoleum cutters (the red handled thing) that you can buy at retail art stores for about $7. There are actually 6 cutting tools that you can buy in a small package, and then you'll also need a piece of either Speedy-Cut (pictured right) or the pink version called Speedy-Carve. Don't actually buy linoleum because it is much more difficult to carve and you have to heat it so it gets soft. Aka -- too much hastle, less time to art! The Speedy-Cut material that Speedball makes is soft like a white eraser, and super easy to carve. The only downside is that you can easily cut into it with a fingernail by accident, and potentially ruin a carving. So, cut those nails short or be extra careful while using this material! Okay, so Step One: Design your stamp! Doodle a bunch of ideas on paper. Make it the size you want it to be, or shrink down your design with a photocopier if you have access to one. A good starting size would be two to three inches long. For your first time using the carving tools, you'll want to keep your design fairly simple, without much intricacy. My design is fairly intricate, so don't use mine as a guideline for detail!! In the left photo I have my design sketched out. Your sketch will be what your stamp will end up looking like, so no need to reverse the image. In the middle photo I am filling in the whole design with a nice soft pencil, like a 4B or 6B (this is Step Two.) It is better to use a soft pencil for this because the graphite will transfer easier in Step Three, however if you only have HB pencils, just go over the image really well. Step Three: To transfer your image, simply place it face down on your Speedy-Cut, hold in place, and rub the back of the paper all over the design with your fingernail. When you lift up, your design will have been transfered! Photo three shows my transfer. If you have transfer paper, by all means use that! Just remember that on the Speedy-Cut, your design must be the mirror image of your drawing. 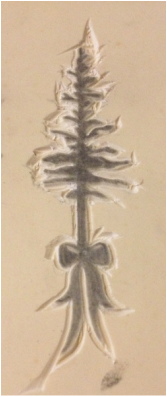 Outline cut is done. Outline cut is done. Step Four: Begin carving! I recommend practicing and trying out all the different cutters first so you know how it feels and what they can do. I usually pick a V shaped tool for my first outline cut of my image. There are a couple different V shaped cutters, so depending on how deep you want to cut and how detailed, choose appropriately. The bigger the V, the deeper the cut. The wider the V, the more area you will cut out at any time. Remember, you will be cutting out around your design. Cut off everying BUT your transfered image, not the image itself. Safety First! Avoid accidental impailment by carving away from your body. This includes keeping your face away from the carving tool, and not carving towards the inside of your hand. Also, keep your Speedy-Cut on a grippy surface like a table, not a slippy surface like a piece of paper. You should be fine. This is a fairly safe version of carving! Step Five: Keep carving until you've carved away everything but your image. If your image is much smaller than your piece of Speedy-Cut, you can cut out your image with scissors, an exacto knife, or your straight edge cutter tool. This will save the rest of your piece so you can make more than one stamp with your Speedy-Cut! 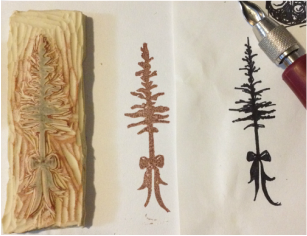 Stamp, print, and original sketch from left to right. Stamp, print, and original sketch from left to right. On the left, my stamp is cut apart from the larger block. On the right, I have finished carving and done a test print to find areas I need to cut deeper or more precisely. So, Step Six is to do a test print and make corrections! You are almost done! On the left is my completed stamp and print with the initial drawing. Once you are happy with your stamp, you can keep it forever and put it on Christmas cards, business cards, or marked papers (for you teachers out there!) Here are some examples of other carvings I have designed and carved for holiday cards.
Let me know if you try this out! It's really fun and kind of addictive. It's very useful if you are into making your own holiday cards or homemade wrapping paper. I would love to see what you come up with, and if you have any questions or need help, comment below! If you would like a custom stamp made, send me a message! Thanks for reading:)
-- Amy |
AuthorMakers gonna make! Categories
All
Archives |



 RSS Feed
