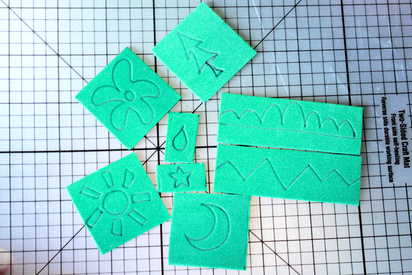
Happy Long Weekend Stamp Making! Happy long weekend!!! It's officially my last three days "off" before school starts up again. I say "off" in quotations because obviously I'm going to go to school every day this weekend so that I am extra prepared and don't have nightmarish unprepared-for-school dreams. Despite the inevitable nightmares, I am so excited for school to start. However, I am off topic. Today I'm writing about making easy, fun, and cheap custom foam stamp blocks! I am going to tell you the steps in short version first and then you can read on or just look at the pictures to get a sense of what it's all about. It is much simpler than the carved stamps I posted about last weekend and requires fewer materials. Some things you'll need are pictured here: 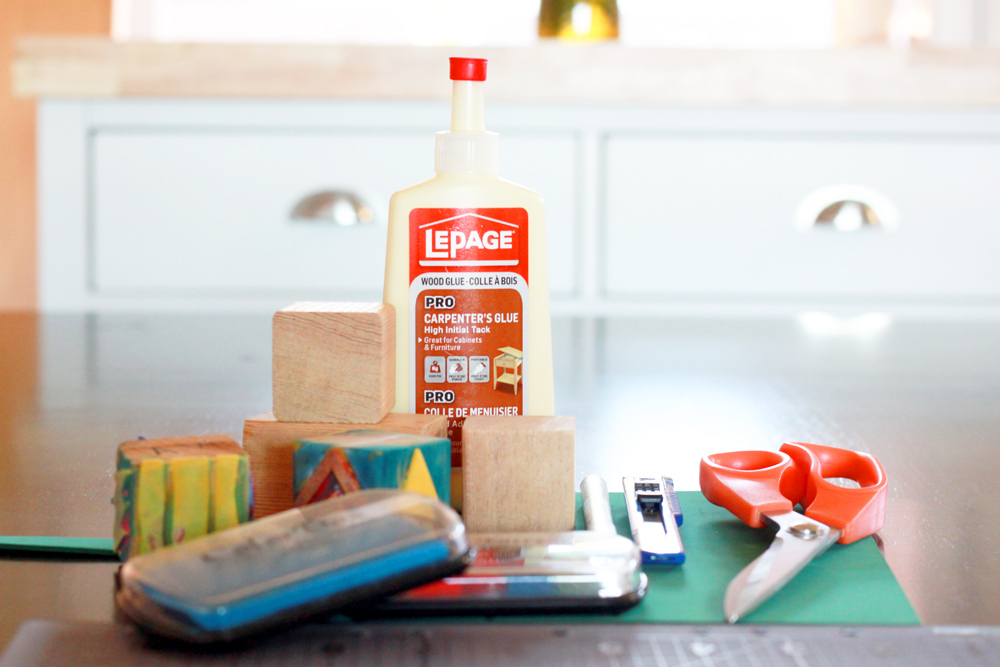 Supplies: craft foam sheet, wood glue, exacto knife and scissors, wooden blocks or Jenga blocks, ball point pen and stamp pads of course!
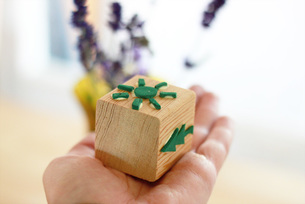
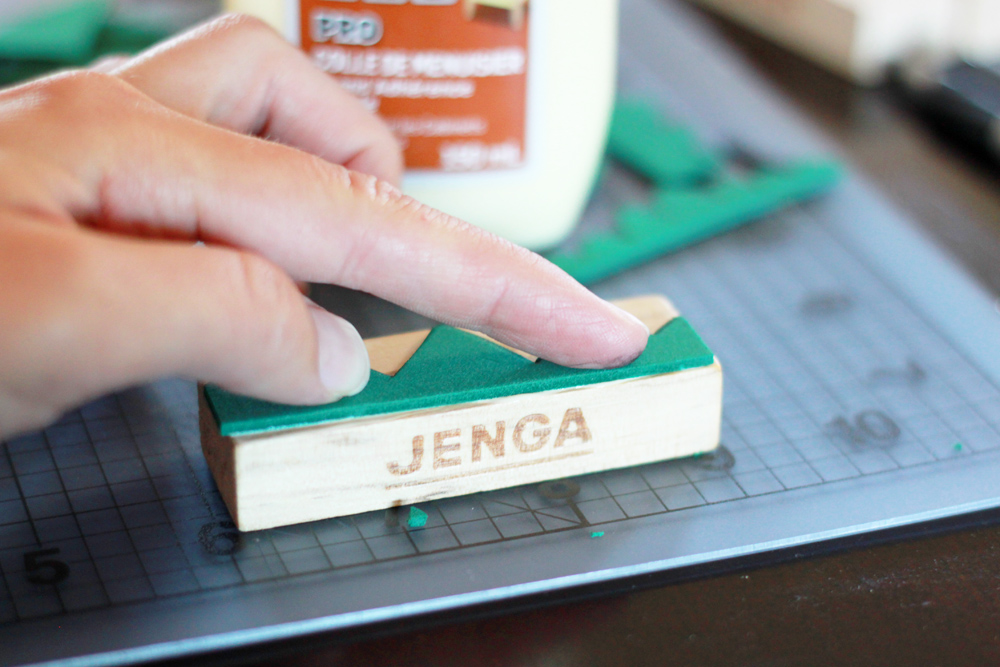 Gluing the foam onto the stamp block with wood glue. After I cut out the foam pieces with either the scissors or exacto knife, I spread a thin layer of wood glue on the back of the piece with my finger. I held it down in place for a few seconds and then let it dry on its own for awhile. I don't know how long it took to dry because I went to school for a few hours and they were all dry when I came back for lunch. It doesn't take very long, though! You'll know when the glue is dry if the foam doesn't slide around on the wood block.
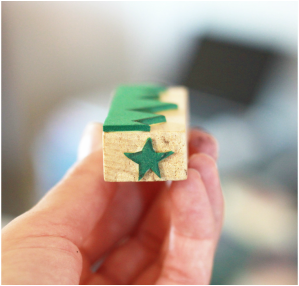
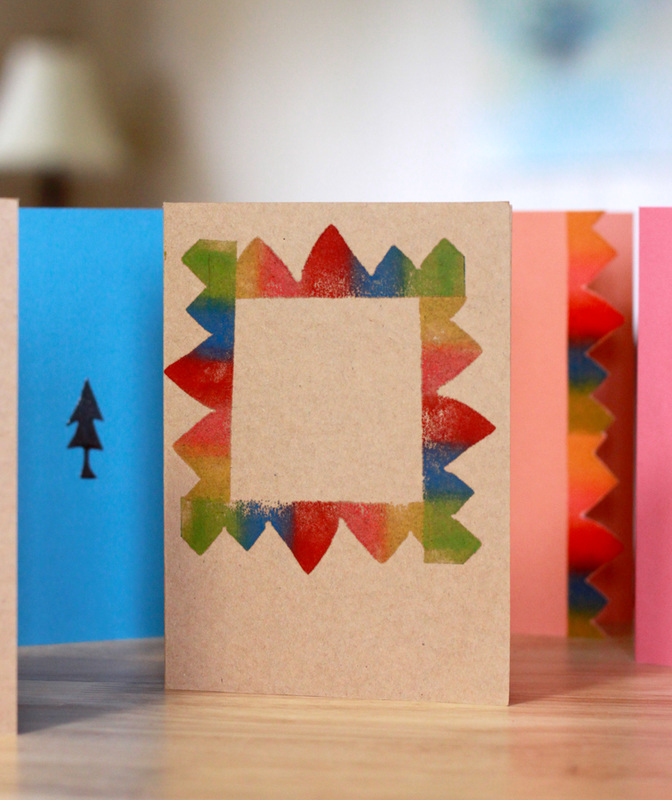
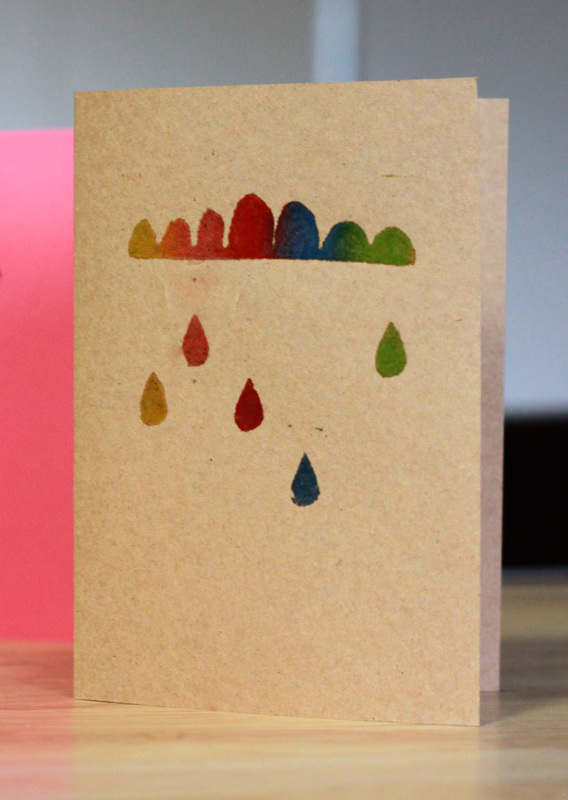
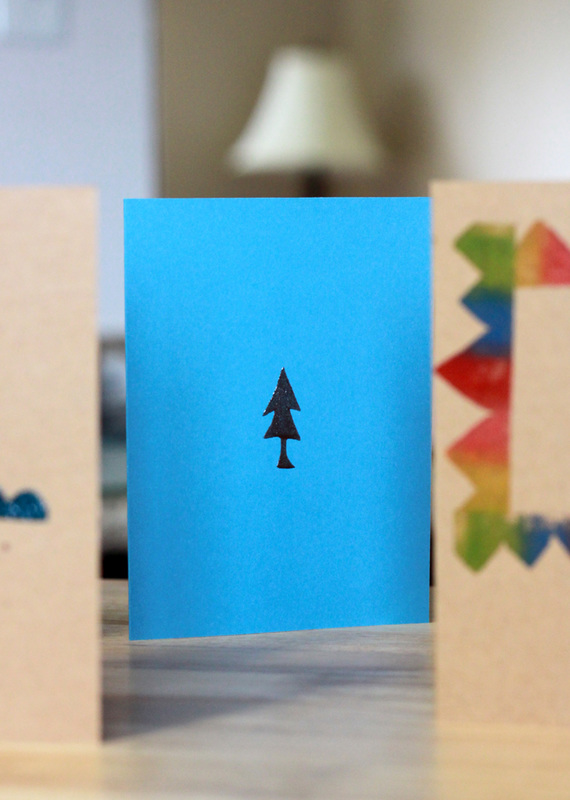
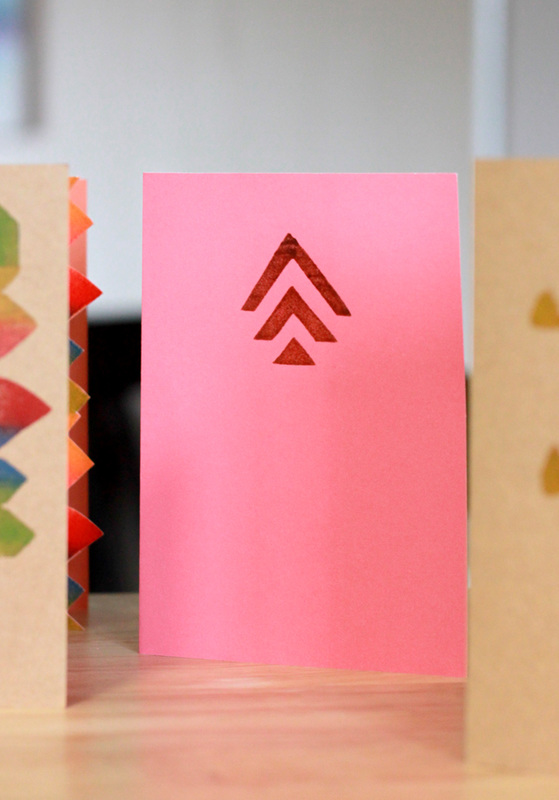
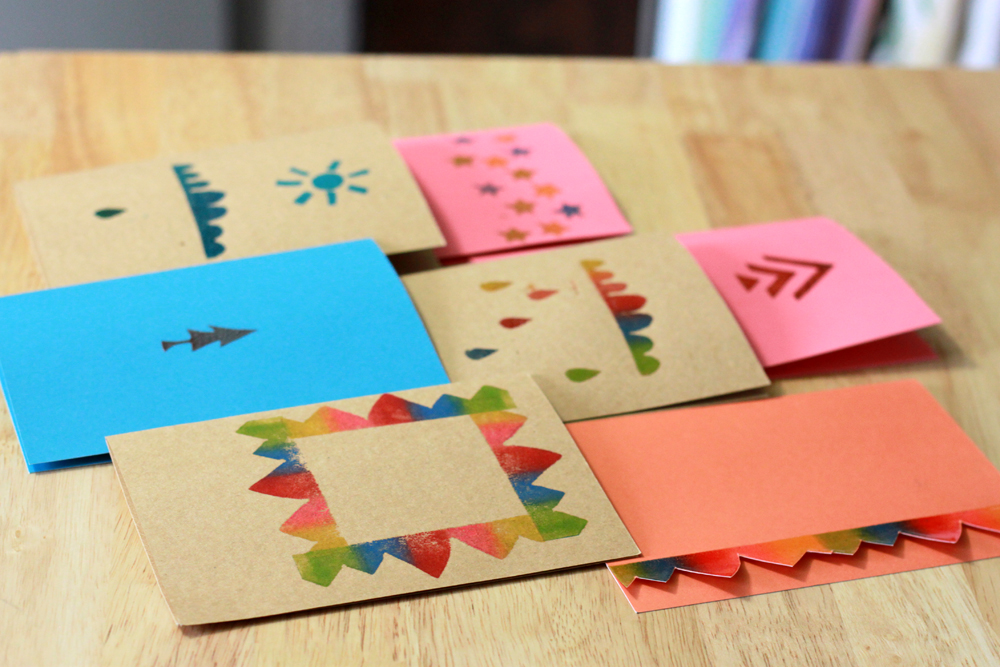
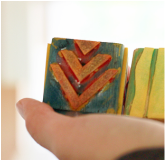
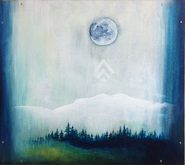
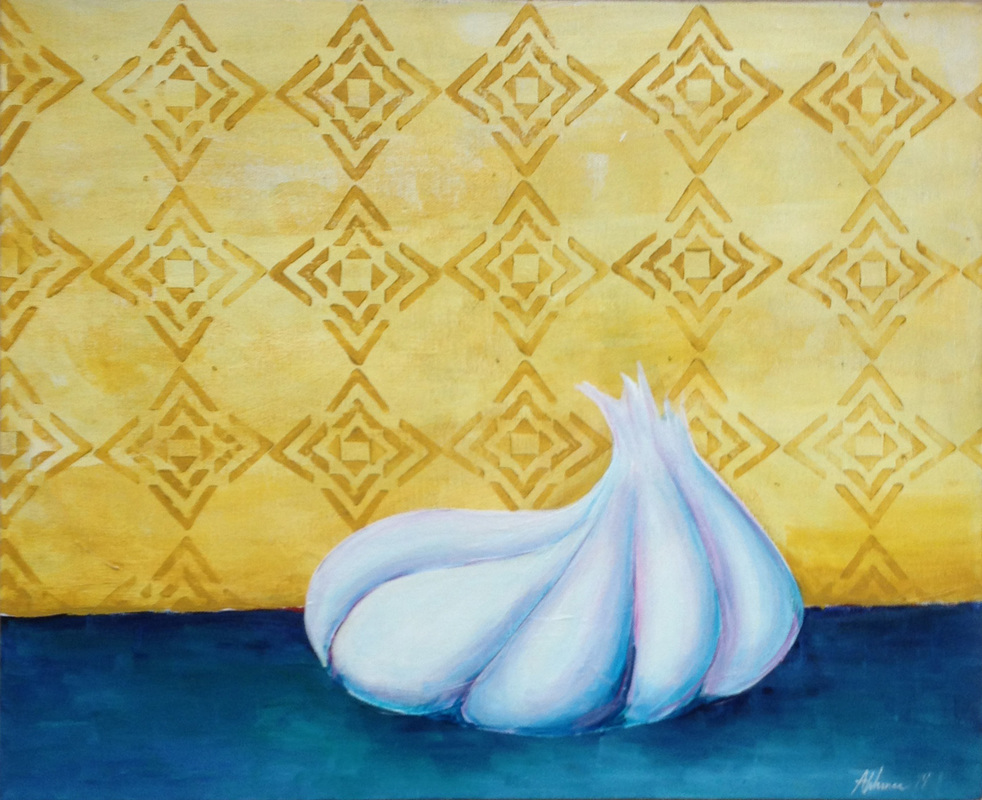
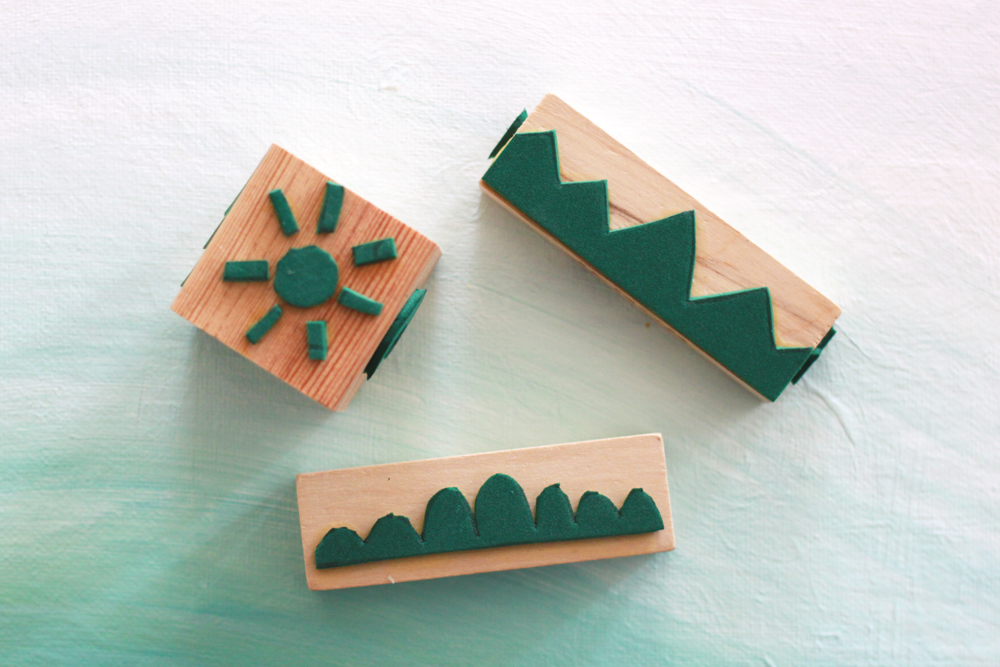 Three multi-sided stamps ready to go. Rainbow stamp pads are essential because they are so fun and bright and awesome! I think that a rainbow stamp pad should be your next stamp pad purchase:) A bonus is that you can use each colour of the stamp pad individually if you have tiny stamps like the star and rain drop I made on the side of the mountainy Jenga block stamp. 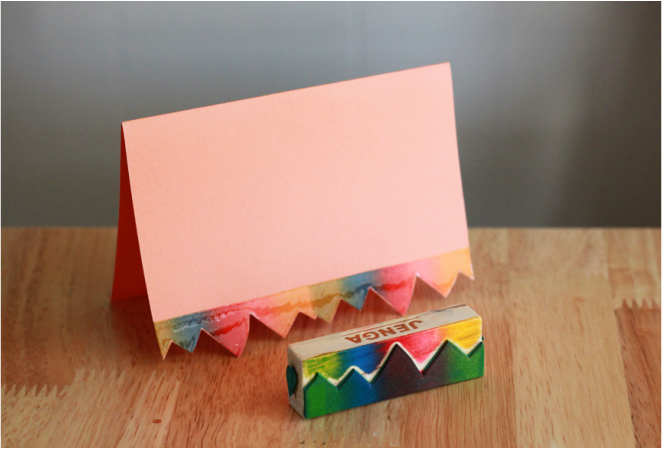 Embossed mountain stamp with rainbow ink. Cut off the excess for a neato jagged edge. I have a hard time stamping without embossing everything, so, as you can see, my stamped edge is shiny because I used a clear embossing powder on it. I will definitely cover all the fun of embossing in a future blog post, if you're interested in learning how to do that. It's fun and obviously addictive like every craft I seem to do:) I thought I would do this post first because you barely have to buy anything for it, but you will need new supplies for embossing.. However, I'll tell you how you can do it without buying a heat gun to save a bit of cost! Here are some cards I stamped this morning:Thanks for reading, and happy crafting, happy weekend and happy September! <3 -- Amy P.S. ... I've actually used my foam stamp blocks in paintings before. Check out this arrow-y design used in two different ways on two different paintings:
4 Comments
Brit
9/5/2015 10:30:43 am
I want to have crafting afternoons together! So fun :)
Amy Warner
9/5/2015 11:08:44 am
We should!! I am always up for crafting afternoons, or evenings, or mornings... :) 2/8/2017 03:11:56 am
There are so many choices of mattress types available that selecting the mattress that is best for you can be overwhelming. However, when we break it all down, there are really on a few types of mattresses. Once you know which type is best for you, your back and your budget, then the selection process gets much simpler. 8/23/2018 11:43:22 am
Your site is so helpful, useful and informative. Thank you so much for saving us hundreds of dollars!! Wish there was some way to repay you for this information!! Can’t wait to share this website with our friends who are also looking to buy a new mattress. It is great to know this stuff before you even think about buying a mattress. You totally ROCK!! Leave a Reply. |

AuthorMakers gonna make! Categories
All
Archives |

 RSS Feed
