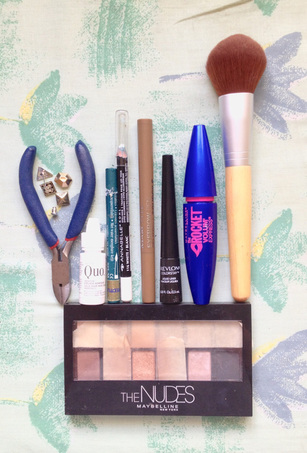
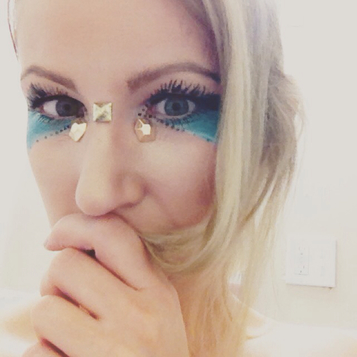
 Face painting supplies Face painting supplies So the only things I had to do to prepare this look (which, again, I don't know what it is) was to cut off the earring post with metal cutters so the jewels had a flat back, draw on some fake eyelashes to extend my regular sized ones, and I blended the teal colour with my white eyeliner pencil to make it more creamy smooth. Attaching the jewels was only difficult if I hadn't wiped off the makeup on the skin underneath it. Otherwise, they just slid around on top of the makeup. This is why I would like to find some plastic gold jewels instead of destroying some earrings that are too heavy anyway. However, I like to work with what I have so that my bank account is healthy and I don't hoard more craft supplies. Except that I LOVE to hoard craft supplies...
Anyway we'll see if I get another Stampin' Saturdays post up today, I have a large to do list so it may be delayed. I was stamping on a pumpkin last night but that didn't work the way I wanted it to so we'll see where that goes! Happy Saturday and happy crafting! -- Amy <3
0 Comments
Well it's getting close to that time where everyone is thinking about their Halloween costume, so naturally I have been busting out the face paints. I'm not sure what I would call this look but it was really fun since the feathers moved like wings flapping when I batted my eyelashes! What would you call it??  Face Paint Fridays Series #1. Futuristic Feathered Female. I don't like spending loads of money on makeup, but when it comes to Halloween, that goes out the window. Last night I picked up some eyelash glue and liquid liner so I could use my face as a canvas and get creative. Eyelash glue is the best because you can glue anything light enough to your face, such as feathers!! And liquid liner is immensely fun. I could doodle all day with that stuff. My car alarm randomly went off at 11pm while I was doing all this so I was a little freaked out knowing that someone may have tried to break into my car, but then I realized how ridiculous I looked and thought I could have scared them right back if I had shown them my face. Anyhow, that was my Friday night. Stay tuned for more Halloween inspiration in the following weeks!
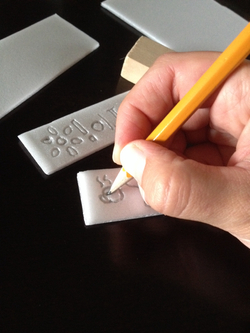 Drawing in my designs on the styrene Drawing in my designs on the styrene Happy Saturday everyone! Doesn't it feel like fall? The leaves are turning golden again! I love it so much that I made pumpkin pancakes for dinner last night and breakfast this morning. Yums. Last night I made some styrene stamps and had fun with it AND made a lot of bad prints. To be honest, styrene printing is best used in a printmaking style with ink and brayer rather than a stamp pad, but it is still fun and easy to do. I also can't help but feel a bit better about myself if I can save some non-biodegradable matter from ending up at the landfill, so you're being eco-friendly if you do this craft! Yay! You will need these items: 1. Flat styrofoam containers, washed and dried. 2. A very dull pencil 3. Scissors and a utility knife will be handy 4. Optional: Wood glue and blocks like Jenga blocks 5. Ink and brayer or stamp pad 6. Paper or cards to print on Here are the steps: 1. Cut styrofoam takeout containers so you have only flat pieces 2. Cut those to any shape and size you'd like. I used another Jenga block size for one of my stamps. 3. Use a very dull pencil (non mechanical kind) or a ball point pen to draw in/press in your design. If you're doing letters they must be in mirror image. (Side note -- check your spelling if writing in mirror image. I forgot coffee has two e's so I made a stamp that says "Coffe?". Egh. It's been a long week.) 4. If you want, glue the back onto your Jenga block or another sturdier object with wood glue. This is very handy if you are using your styrene with a stamp pad. 5. When your stamp is ready, do some tests and print away!  Some Jenga block stamps waiting to dry with a large floral design block ready to go. 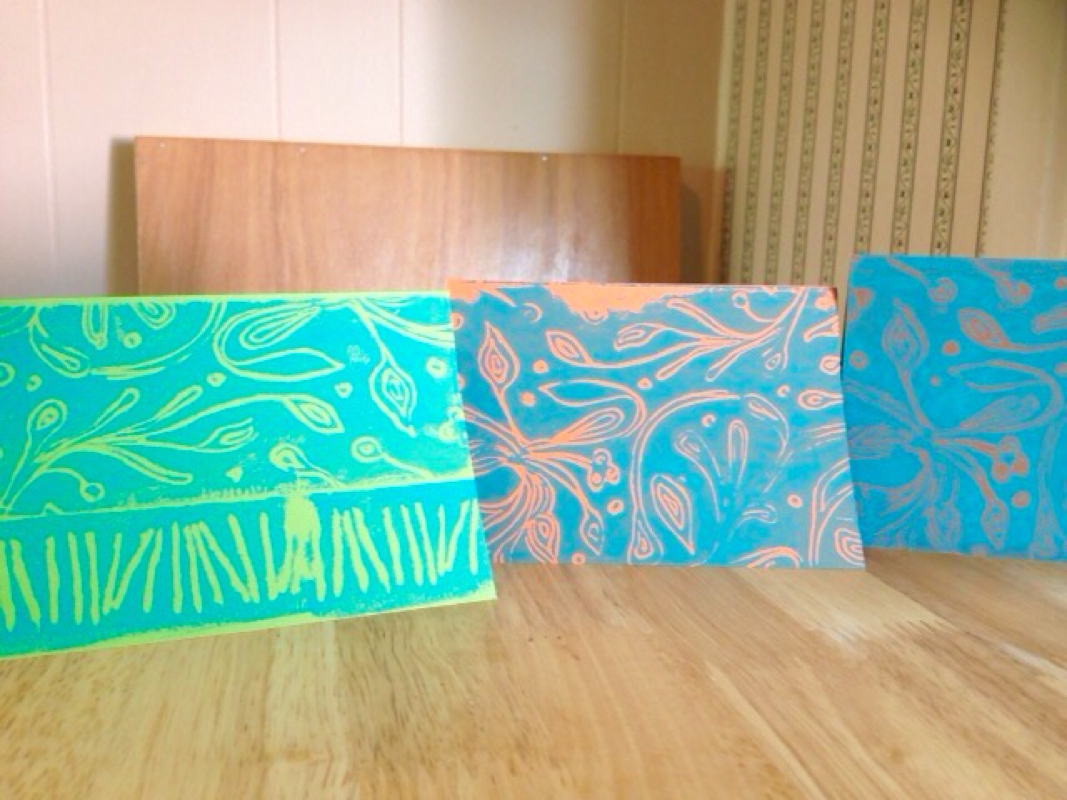 I used two stamps on the left green card and one big floral design on the orange and brown cards. Please excuse poor quality cell phone photos :) One thing I like about printing with styrene is that it is imperfect, which gives each print an antique look every time. If you are a perfectionist, this is not for you! I also like that simple designs like lines (see bottom of the green card) or dots, or shapes can make interesting textures to print. I have more printing to do I think! Have a great Saturday.
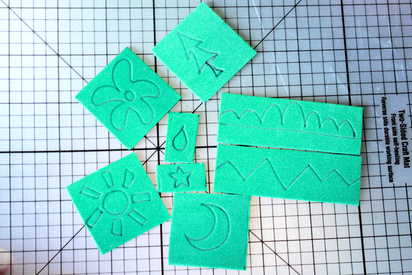
-- Amy Happy Long Weekend Stamp Making! Happy long weekend!!! It's officially my last three days "off" before school starts up again. I say "off" in quotations because obviously I'm going to go to school every day this weekend so that I am extra prepared and don't have nightmarish unprepared-for-school dreams. Despite the inevitable nightmares, I am so excited for school to start. However, I am off topic. Today I'm writing about making easy, fun, and cheap custom foam stamp blocks! I am going to tell you the steps in short version first and then you can read on or just look at the pictures to get a sense of what it's all about. It is much simpler than the carved stamps I posted about last weekend and requires fewer materials. Some things you'll need are pictured here: 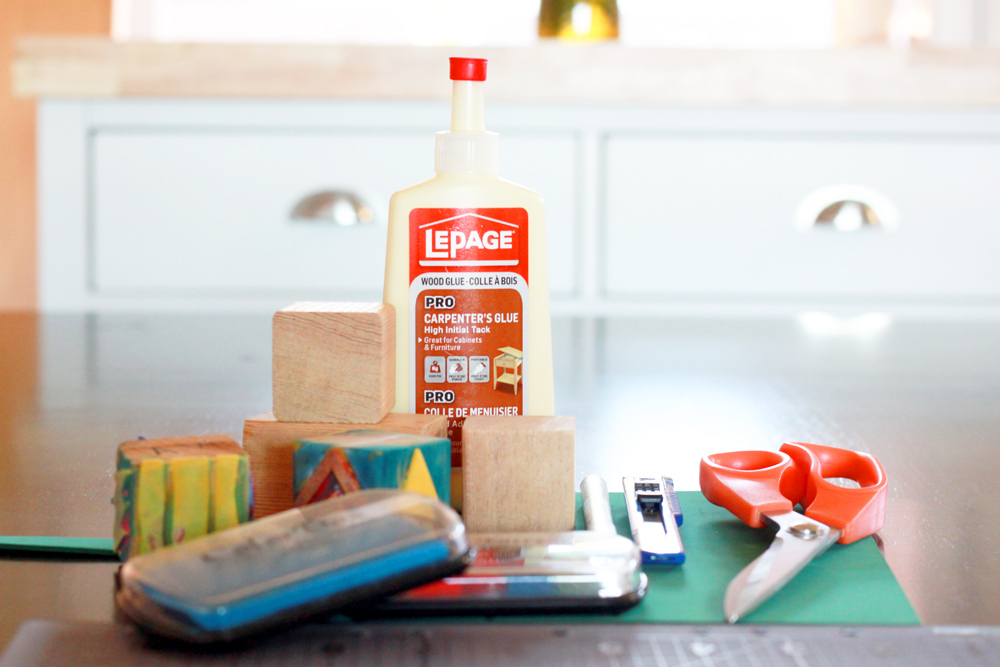 Supplies: craft foam sheet, wood glue, exacto knife and scissors, wooden blocks or Jenga blocks, ball point pen and stamp pads of course!
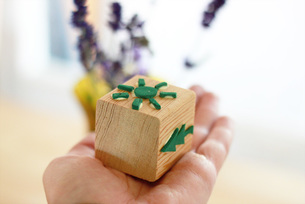
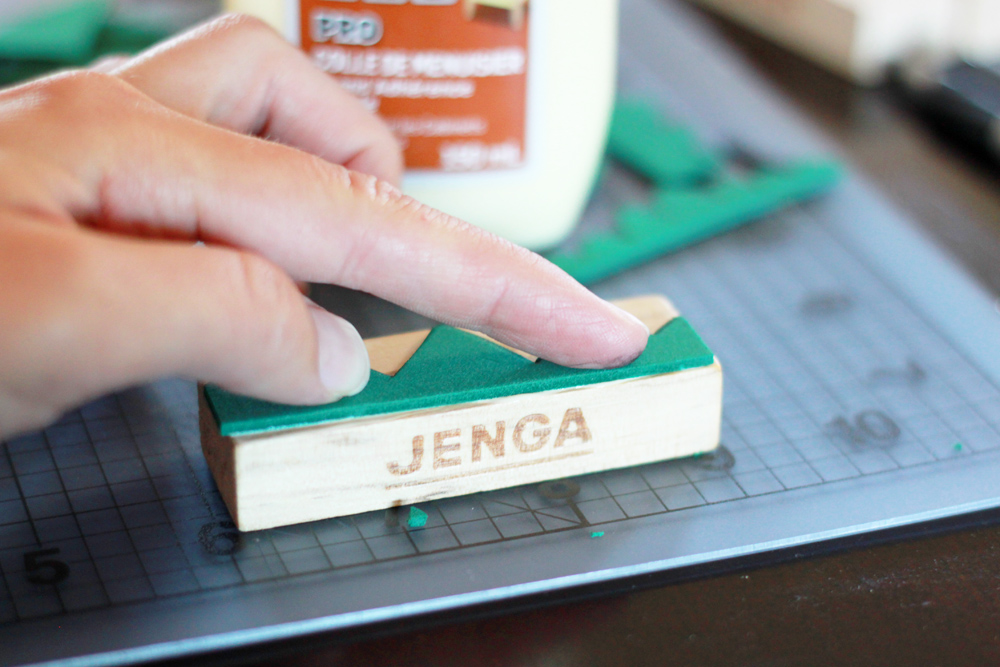 Gluing the foam onto the stamp block with wood glue. After I cut out the foam pieces with either the scissors or exacto knife, I spread a thin layer of wood glue on the back of the piece with my finger. I held it down in place for a few seconds and then let it dry on its own for awhile. I don't know how long it took to dry because I went to school for a few hours and they were all dry when I came back for lunch. It doesn't take very long, though! You'll know when the glue is dry if the foam doesn't slide around on the wood block.
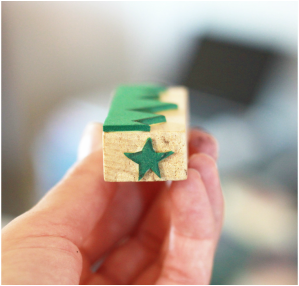
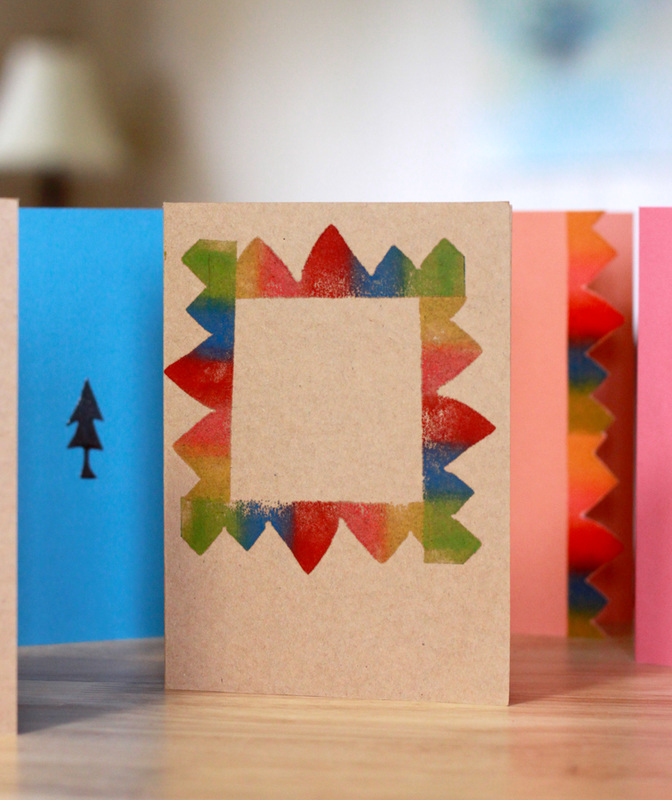
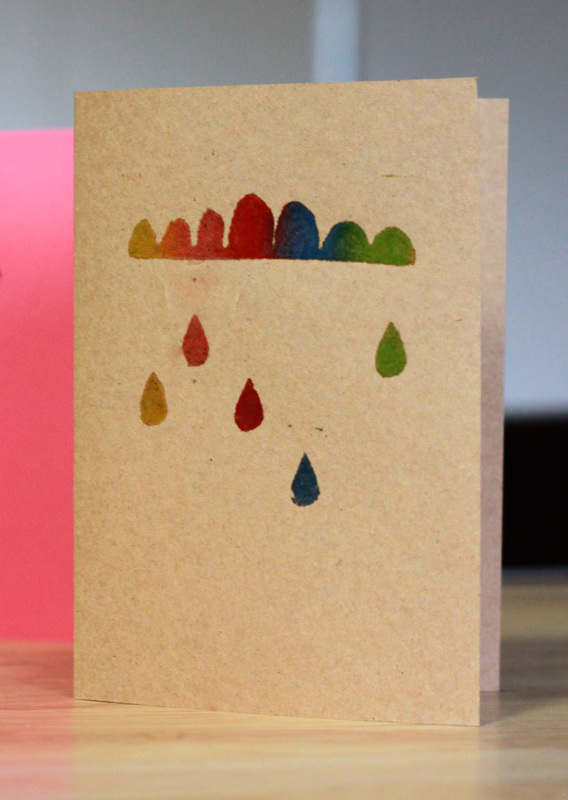
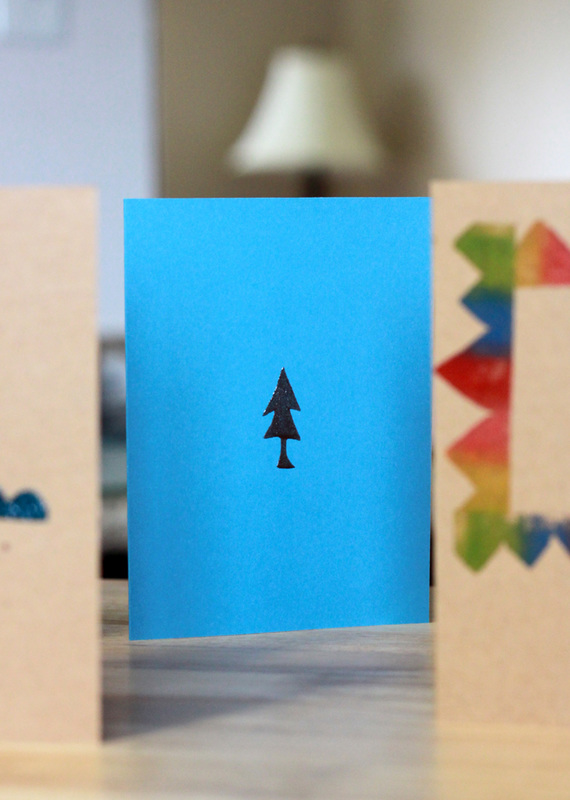
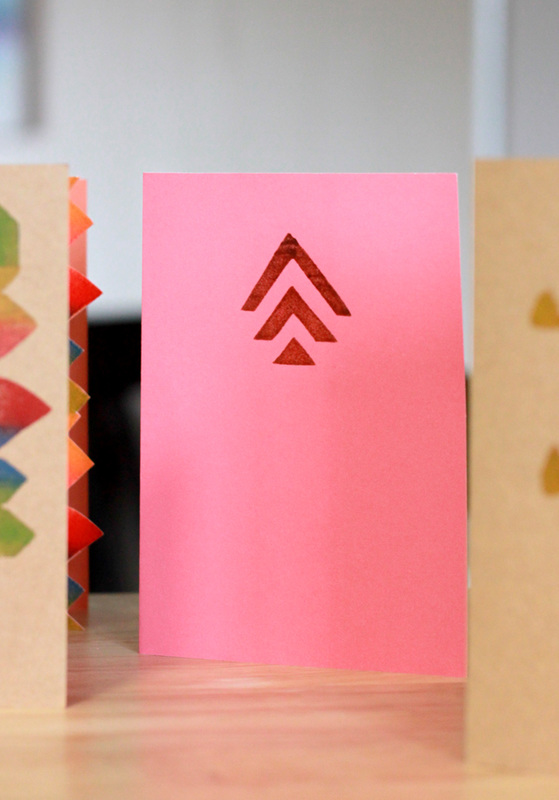
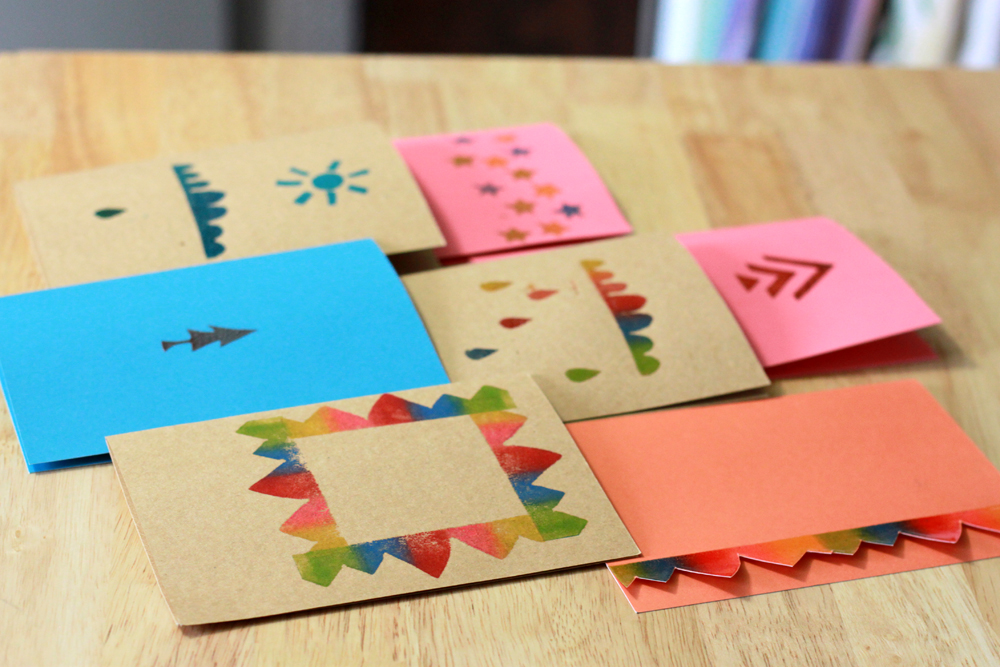
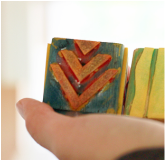
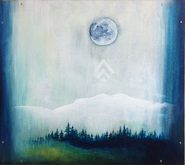
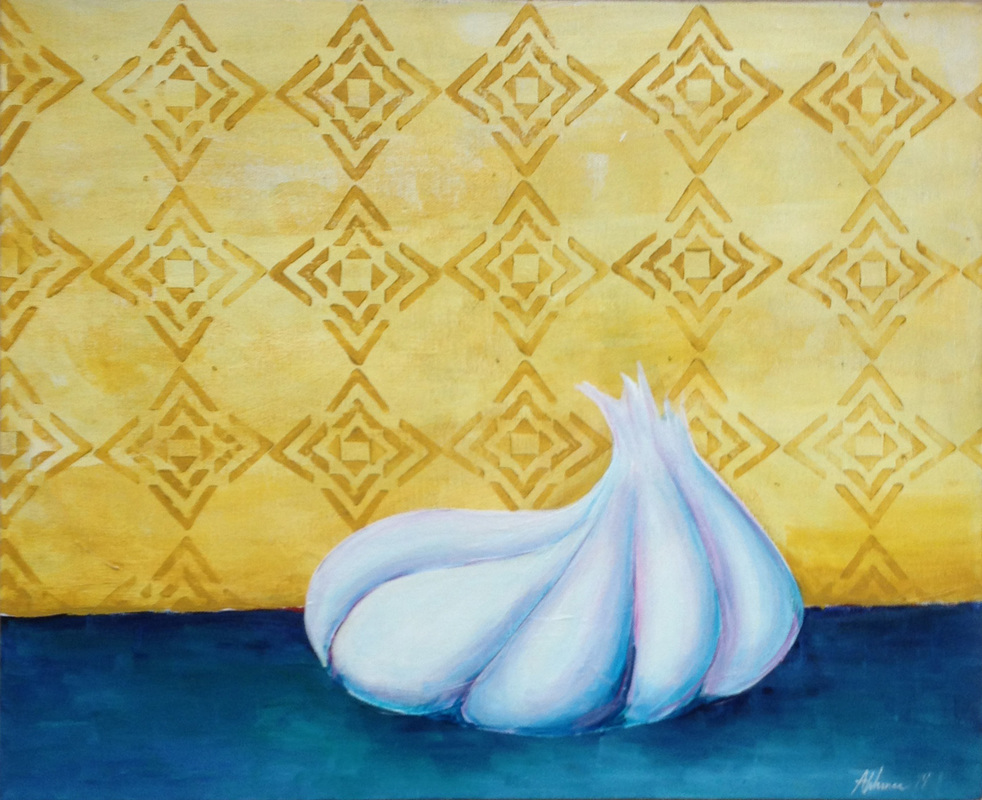
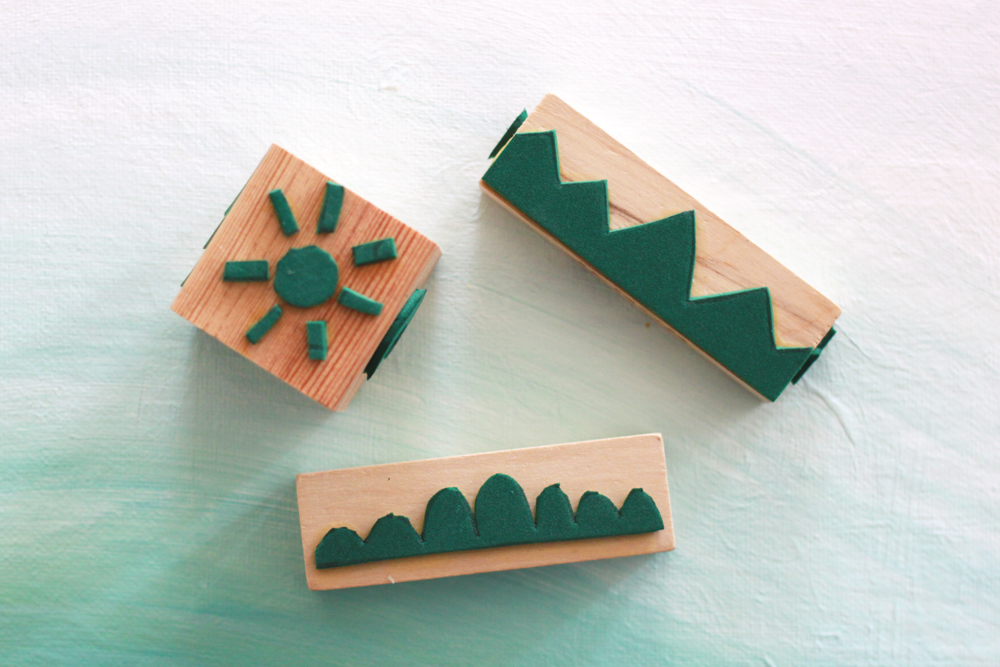 Three multi-sided stamps ready to go. Rainbow stamp pads are essential because they are so fun and bright and awesome! I think that a rainbow stamp pad should be your next stamp pad purchase:) A bonus is that you can use each colour of the stamp pad individually if you have tiny stamps like the star and rain drop I made on the side of the mountainy Jenga block stamp. 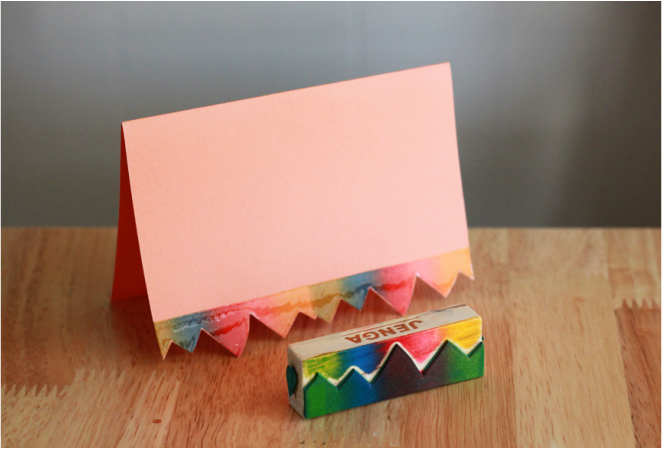 Embossed mountain stamp with rainbow ink. Cut off the excess for a neato jagged edge. I have a hard time stamping without embossing everything, so, as you can see, my stamped edge is shiny because I used a clear embossing powder on it. I will definitely cover all the fun of embossing in a future blog post, if you're interested in learning how to do that. It's fun and obviously addictive like every craft I seem to do:) I thought I would do this post first because you barely have to buy anything for it, but you will need new supplies for embossing.. However, I'll tell you how you can do it without buying a heat gun to save a bit of cost! Here are some cards I stamped this morning:Thanks for reading, and happy crafting, happy weekend and happy September! <3 -- Amy P.S. ... I've actually used my foam stamp blocks in paintings before. Check out this arrow-y design used in two different ways on two different paintings:
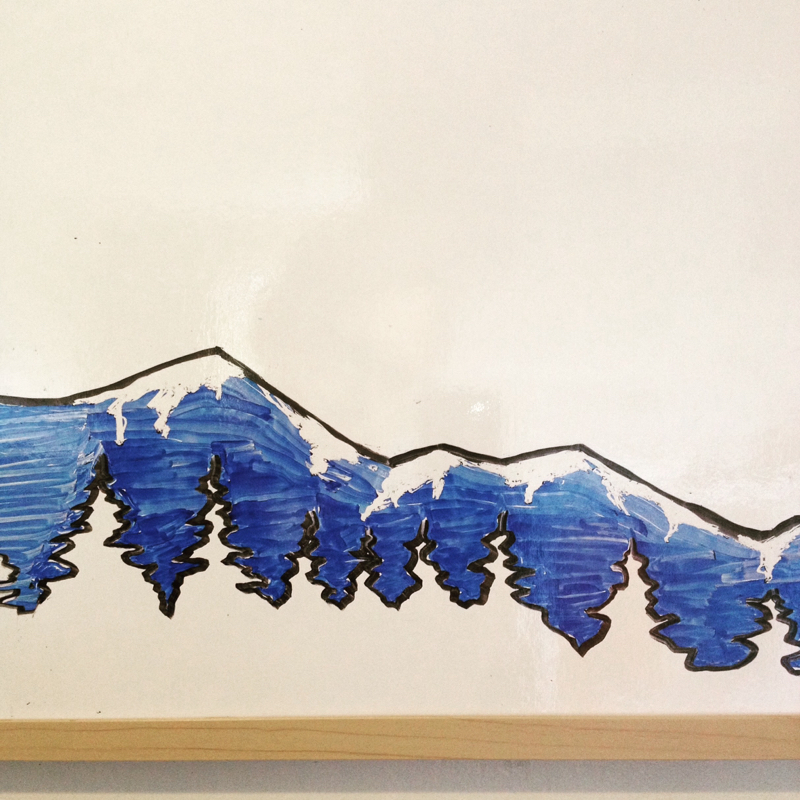 Drawing on my little whiteboard at home or the big chalkboards at school is not only fun but also so zen! There is a certain freedom knowing you can just erase it all in one sweep. I'm planning to post weekly chalkboard art drawings that I will do when I need a break from planning or marking on weekends. Happy Wednesday! -- Amy As I prepare for future posts, I realize that it may be a good idea to mention in advance what you will need for future projects. That way you can have some materials ready to go if you want to try anything out! I have been collecting things for various forms of stamping, so here are three items you can keep around if you have them. 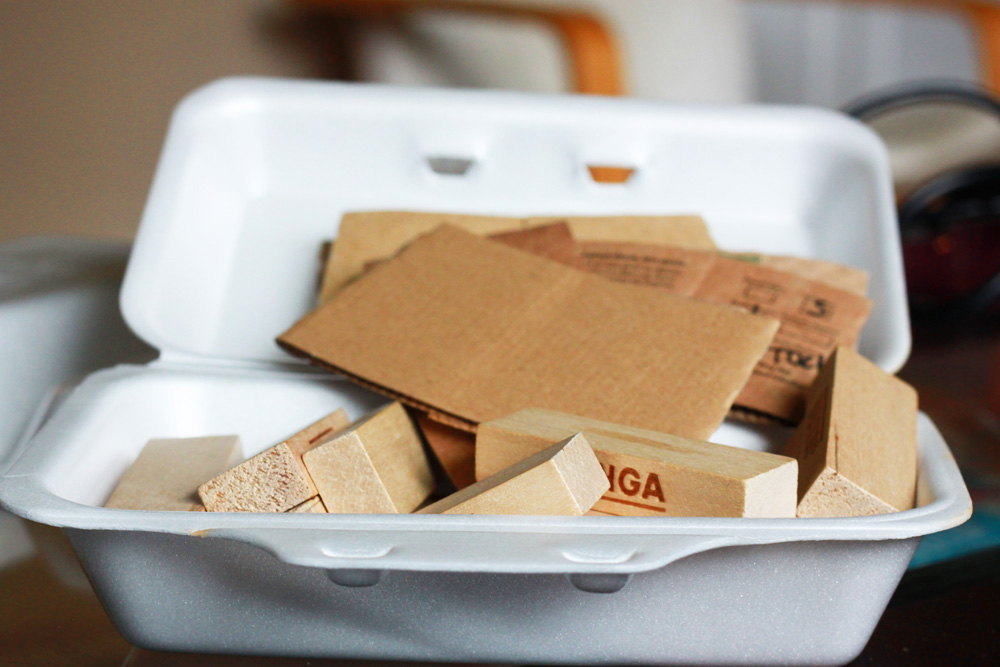 1. Styrofoam takeout containers. I don't think you can recycle styrofoam anywhere, so the best we can do at least is reuse it, right? Containers with flat, smooth areas are good to keep. Just give them a wash with soap and water and let them dry for a future Stampin' Saturday post. 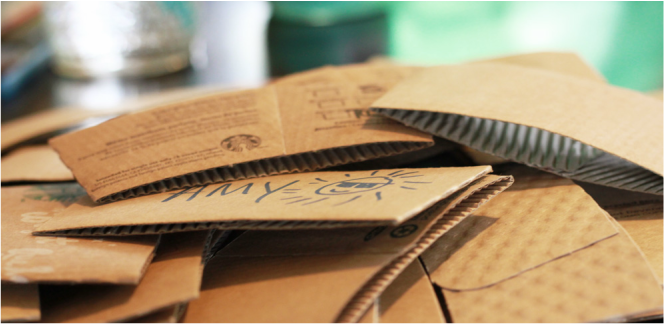 2. Cardboard coffee sleeves. Yes, I have a few too many of these. It may be a problem. I promise I do use a thermos to avoid using takeout cups at coffee shops, but I just don't exaaaactly always remember to bring it with me. I like to keep the cardboard sleeves instead of recycling them right away because they are useful for many craft projects. In fact, keep an eye out for a future post all about what you can do with these little coffee huggers! 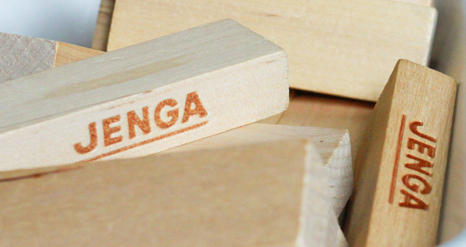 3. Jenga blocks. You may have an old game sitting around missing a few pieces that your dog chewed up, or perhaps you spot one at a garage sale. Either way, don't throw it out! The little wooden blocks can come in very handy, and it will save you time in the future for a stamping project. Well, I hope your week has started off well. We had the most glorious double rainbow appear tonight after a massive downpour, so if you are in Terrace, I hope you got to see it!! The bottom rainbow went PAST the violet and indigo and turned into a reverse rainbow after that. Scientists...what IS that?? I was on a jog so it was very difficult to keep my head facing where I was going while staring at the beauteous sight to my left. It was practically neon, that's how bright it was. Sometimes rainbows like that make me think it means somehting even though its just light and water and science, but it made me think of my friend's grandma who is going through some tough times, so I'm sending all the positive vibes I got from that rainbow your way Mol!!! XOXOX
Anyway, I am gearing up for school to start next Tuesday so I am trying to get as much art done as possible before then. On to the next mess! Happy Tuesday! -- Amy |

AuthorMakers gonna make! Categories
All
Archives |

 RSS Feed
